More Efficient Industrial Design Through 3D Printing
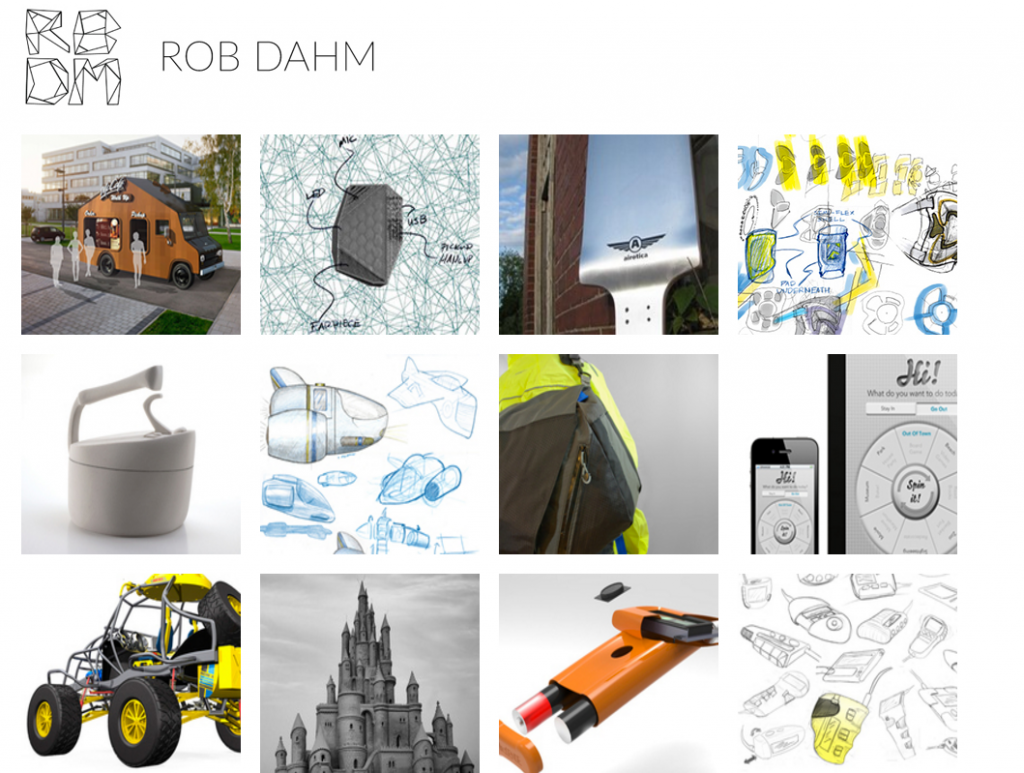
Meet Rob Dahm, Industrial Designer. Originally from the Northeast, Rob received his Industrial Design degree from the prestigious Wentworth Institute of Technology in Boston. He had the opportunity to work for some of the area’s top companies, including Hasbro and New Balance.
Eventually, Rob made the trek west and is now living and working as a freelance and industrial industrial designer in sunny Southern California. His diverse clients represent different industries including food packaging, toys, consumer electronics, motorsports and outdoor gear.
Rob’s introduction to 3D printing started in college, then professionally with his employers, eventually buying his own machine in 2013. Recently a personal design challenge motivated him to investigate the use of 3D printing to create customized motorcycle parts. While this project was a test of his rapid prototyping knowledge, it seems it has become boundary pushing. “I’m making parts in ABS and ABS blends that are usually cast metal, and they’re lighter and cheaper and holding up just as well or better as what they’re replacing,” he says “and nobody thinks it’s possible.” As Rob regularly uses his 3D printing skills to offer a more comprehensive solution to his commercial customers, he apparently enjoys a challenge in or out of the office.
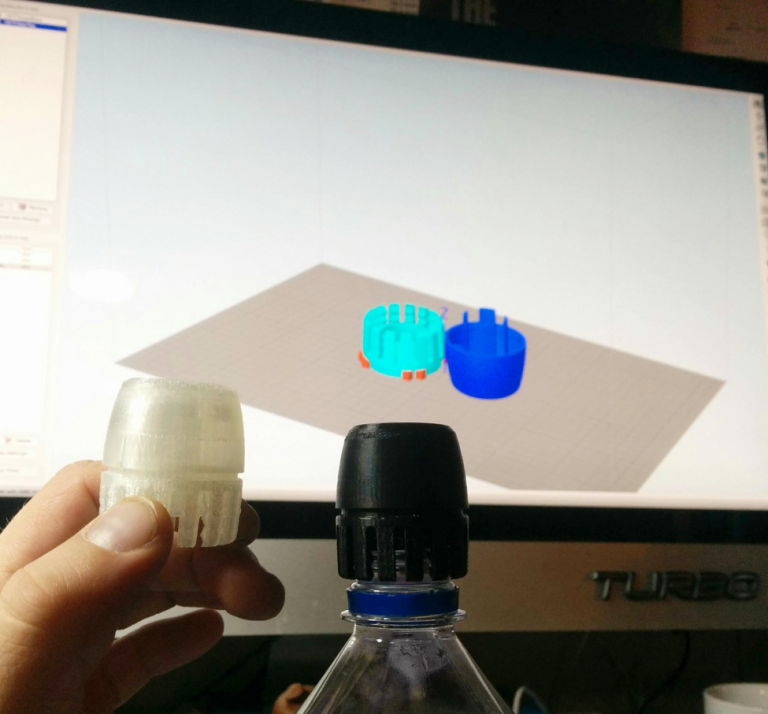
He recently worked with a consumer products company to develop a “beverage enhancer” for water bottles. The product was designed for athletes looking for energy during a workout or for help with recovery after. Squirting liquid or adding powder from another container can be messy and imprecise. The client wanted a more effortless solution, so Rob developed a unique bottle topper that acts as a self-contained package, allowing the athlete to attach a cap and inject enhancer directly onto the bottle. He shared with us images of an early prototype.
His experience with rapid prototyping and 3D printing once again played a big role in the product’s development. The product had to be functional, but it also had to be cost-effective to mass produce, and that meant reducing as much plastic as possible. According to Rob, “we were going back and forth with different versions. As the final product would eventually be injection molded, being able to test and validate prototypes with the manufacturer was critical as it would have been too costly to create a mold for each iteration.”
Software’s Role
“It wouldn’t have been possible without the right software,” says Rob. “Due to the small parts that are a feature of these prints, having the ability to fine-tune the infill, infill overlap, retraction, and shell settings allowed me to create parts that were as close as possible to the functionality of the final injection molded parts.”
I asked Rob which tools he uses, and why. He currently runs two 3D printers – a FlashForge Creator and a new BigBox Pro, both of which he controls with Simplify3D.
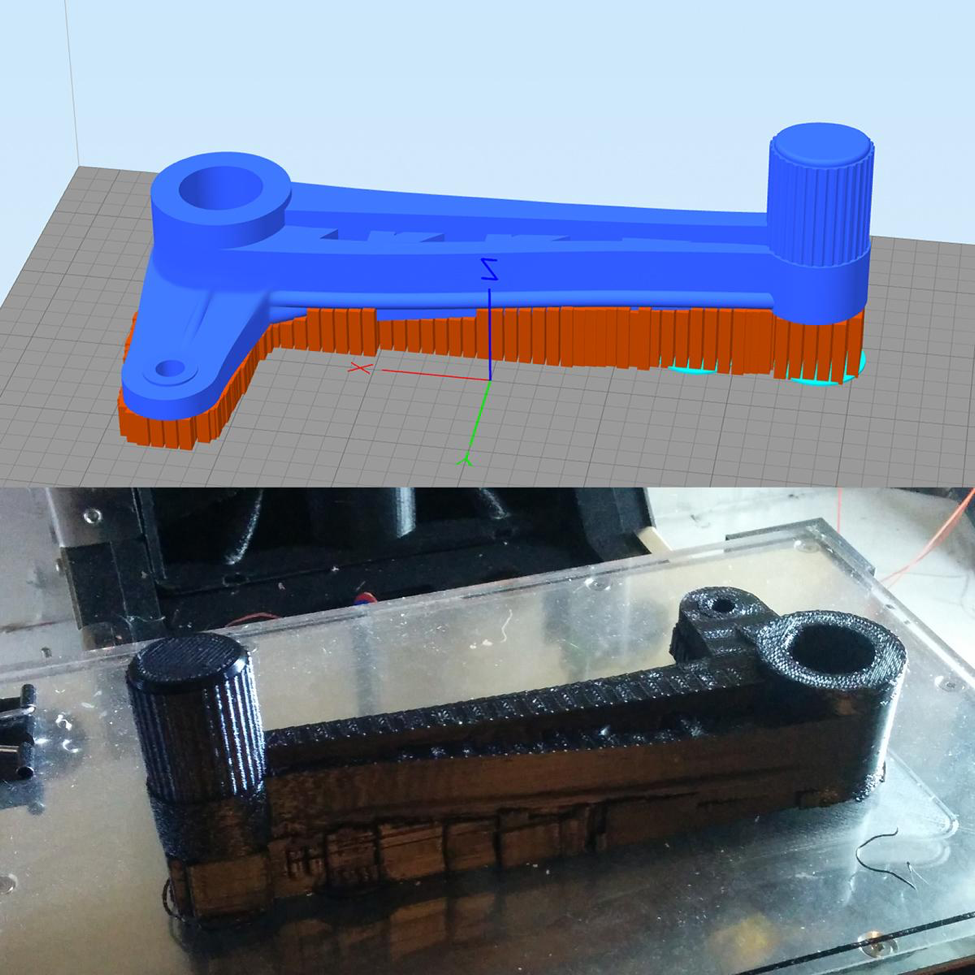
The combination gives him the kind of control necessary for his work. Rob says, “I’m using almost every setting I have available to me. For the kinds of things I print, outline speed, infill overlap, and the ability to custom place supports is critical. In addition to a properly leveled plate, being able to fine-tune the first layer settings really helps get small-footprint parts to stick efficiently. Not having to use rafts with my supports improves both speed and print quality. For example, the prototype lever (shown below) is on one face of its body and the rest is floating on supports, which all tear off once the print is done.”
“Control over the mesostructure and ability to loft parts off the build plate is very important here and thanks to Simplify3D I have more control over it than in most software.”
I asked Rob to elaborate. He said that “controlling the interior space of a part is crucially important, and what I mean is more than what people call infill. In between some modeling tricks and Simplify3D’s controls, we’re able to make plastic parts nearly as strong as some cast metals. And, being able to place custom supports means that no print is too complex to toss into an FDM machine. I don’t have to argue with an algorithm that doesn’t do what I want, and I’m able to minimize the amount of extra extrusion the printer has to do while maximizing the effectiveness of the support. I’ve got some parts that are most of the build area wide, yet only a few cubic centimeters touch the plate – everything else is the support structure, and with separation layers dialed in, it all just peels right off once cooled.”
The Competitive Advantage
But for Rob, it’s also about speed. His time is highly valuable and the software allows him to operate more efficiently. Rob put it this way:
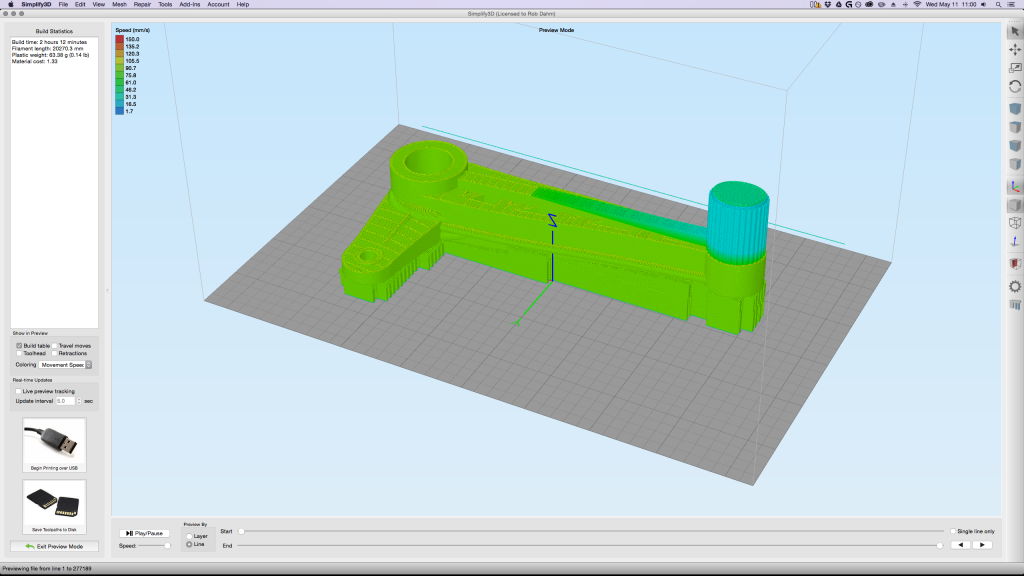
“The software is amazingly fast to preview a print and show you how your settings will affect it, including any custom-placed or shaped supports. Other slicers have the preview functionality to a degree, sure, but S3D is faster to use than any of them by far and is super easy and reliable to look through tool head movement before sending it to the printer. This allows me to iterate prints digitally to see which setup is going to print most precisely and best for the part, before even hitting print.”
I asked him to quantify what he means by “much faster.” He told me that with other slicers he was spending an hour, on average preparing a print. With Simplify3D, the process takes him an average of two minutes.
The increased productivity also creates more opportunity. Rob told me that, “each hour I don’t spend in front of a slicer, I can be spending in CAD. My clients are on a timeline and are paying me to help them solve problems quickly. That’s where the real money gets made.”
I asked Rob how that equates to return on investment. He said, “you know I typically won’t buy software unless I can try it first. I was really struggling with the free slicers out there and took a leap of faith when I bought Simplify3D. I’m glad I did because I could see the difference right away. I recovered my $150 investment within the first week, and it’s been paying me ever since. It was the best software decision I’ve made in a long time.”
Then I asked him how that converts to dollars and cents. He said, “Think of it this way. I charge hourly for my work. With Simplify3D, I can reduce the cost of preparing each job significantly. I print 16 to 20 jobs per month for my clients, so the savings add up, allowing me to be much more competitive.”
On the topic of buying a 3D printer, Rob suggests, “If you’re buying a desktop machine, take it apart and put it back together until you know how it works and how the mechanics affect each other. Things will break, and not just prints. It takes some time at first, but it gets better. My first prints (and for a long time while using other software) were tricky, and settings were hard to get right if existent at all. That said, while my prints still can take 7+ hours to get done, the failure rate is low, quality is up, and tools like Simplify3D have allowed me to optimize things, shaving hours off of most prints.”

